Authored by Robert Spivock, Director of Technology, GE Current, a Daintree company
In our last GE Current article, we talked about reliability as the concept of building a quality product to last over time. The next step is to look at how to build reliable LED fixtures.
To understand how to build a reliable horticulture fixture, we first need to identify what the qualities (or objectives) of the fixture in the system are. Specifically, there are four standards that must be achieved:
- The LED fixture is the carrier or mount for the LED inside.
- It protects the LEDs from the environment, whether water, sun, minerals or other.
- The fixture and its design are a thermal conduit to evacuate LED heat.
- The fixture protects humans from the heat and electricity inside it.
We need to ensure that the fixture is fulfilling all of these responsibilities beginning on day one and extending for the life of the product. Let’s take a closer look at each one.
Acting as a carrier or mount
When mounting a fixture from a truss or ceiling, the customer’s expectation is that will remain there for its usable life. The alternative is—at the least—undesirable. Given the variety of mounting surfaces, it’s important for a fixture to be flexible and easy (almost foolproof) to install. The simpler the install, the more likely it will be done correctly. For example, the Arize Element® L1000 has multiple bracket and universal installation options, allowing it to be mounted in seconds on existing structures.

Materials that do not easily corrode or fatigue such as stainless steel should be used to ensure the fixture remains in place for its life. As a note, the fixture should be hung securely from its body rather than tacked on accessories to reduce the risk of failure.
You can increase the odds of the lamp staying put throughout its life by ensuring that the mounting can hold 4 times the fixture’s weight and adding redundant mounts.
Protecting the LEDs
Once mounted, the job of the fixture is to protect the LEDs inside so they can do their job effectively.

Water is not a good mix with LEDs and electronics, so effective seals protected by drip edges are key in lighting fixtures. Keep in mind that seals need to be both resilient and flexible to changes in environmental conditions.
LED chips can be robust, but more often than not they do not like to be touched. A good UV-stabilized plastic cover can help keep the LEDs safe from contact.
Then there are temperature and pressure changes. While these cannot be avoided, ensuring equalized pressure inside and out of the fixture could help it avoid sucking in water and dust. For these reasons, we put a lens over the L1000’s LEDs. Leaving them exposed increases the risk that light quality and quantity will decrease over the life of the fixture, impacting your crops and bottom line.
Evacuating heat more efficiently
A well-designed thermal strategy that keeps LEDs cooler can be the difference between a 1-year usable life and a fixture that will have few LED failures and little degradation beyond 5 years. The first step for thermal extraction resides at the home of the LED on a printed circuit board (PCB). Careful selection of materials, feature design and material weights are some keys to long life. Once your PCB is ready, it needs to be connected to the rest of the fixture and eventually the fins (as applicable). Uniform fastening pressures, thermal greases, flat surfaces and short thermal paths can help get the heat away from the LEDs faster, making them last longer.

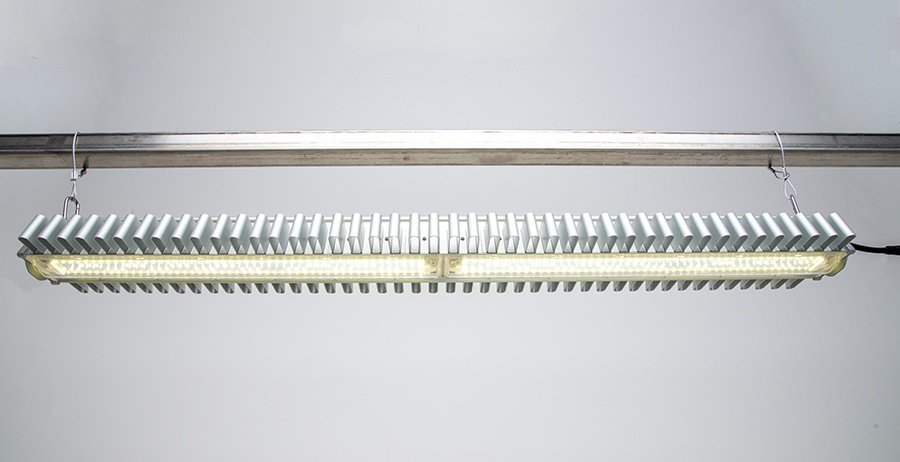
For passively cooled fixtures (e.g., no moving parts), selecting good conductive metals, as well as correct fin quantity, shape, size and orientation, are all part of the reliability equation. Actively cooled fixtures are more difficult, so great care should be taken when selecting the moving parts.
Protecting the users
We’re not only concerned with protecting the LEDs inside the fixture; it is also about protecting the user and the environment from the current and heat inside the fixture.

Often, the weakest link in any design is poor electrical connections. Using approved, good quality connectors and connections is a must for long-term reliability.
Isolating the user from live parts using good dielectrics is also critical. Material ratings and wire insulation selection are key in both normal and abnormal conditions. Coupled with good grounding, these design features ensure the user and the environment are protected.
For some, the above may just be a summary of what you already know. But for those who are not well-versed in the world of grow lighting systems, rest assured that there are teams of experts who study and refine fixture reliability every day so you can focus on growing your crops. To learn more about Current’s horticulture lighting fixtures, contact us today.


You must be logged in to post a comment.